 |
Step 1
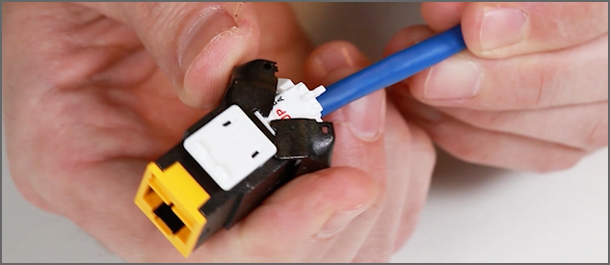
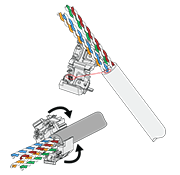
After you have removed the cable jacket, mylar tape, pair separators, etc., line up the wire manager with the blue pair indication on the label in line with the blue pair of the cable. Ensure the end of the cable jacket is at the cable jacket stop inside the wire manager, and click the wire manager closed.
|
 |
Step 2
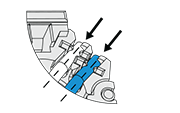
Observing pair polarity and T568A or T568B wiring pattern, seat the four pairs into the wire manager.
|
 |
Step 3
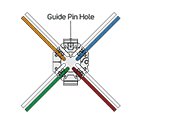
Check polarity by making sure the white wire of each pair will be closest to the guide pin hole in the face of the wire manager.
|
 |
Step 4
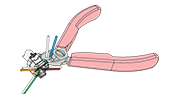
Using a flush cutter, trim all pairs flush with sides of wire manager.
Note: Wire ends must be cut flush: we don't recommend using snips or side cutter, as they may cause test failures.
|
 |
Step 5
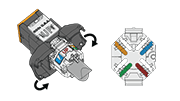
Align the prepared wire manager with the rear of the connector, matching "UP" on the wiring label to "UP" molded into the connector retaining tab. Close connector doors to complete the termination. To rewire, depress the connector door-release tabs simultaneously and wiggle the cable to re-open connector doors.
|
