How to Install a Single Pole Light Switch
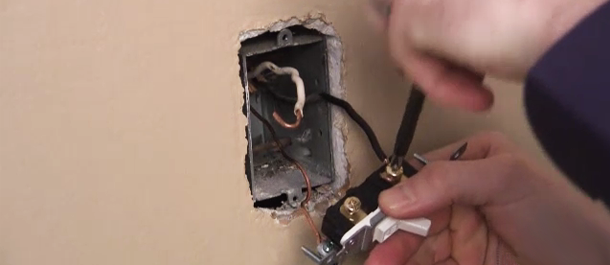
In this blog post, we'll be showing you how to quickwire a single-pole switch for easy installation.
Single pole light switches are the most common switches found in homes. A single pole switch controls a light or lights from one location. Single pole switches have two screw terminals, and some single pole switches also come with a green screw for the ground wire. Leviton offers Decora style and traditional toggle style single pole switches.
Tools Needed



Steps
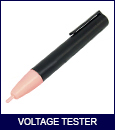
Warning: To avoid fire, shock, or death, turn off power at the circuit breaker or fuse and test that the power is off, using a voltage tester, before wiring!
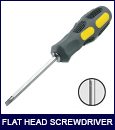
1) Remove the wall plate using a flat head screwdriver, then remove the old light switch from the wall box.
2) There should be three wires coming out of the wall box. Using your pliers, make a "shephard's hook" at the end of each wire.

3) Take the bare copper or green wire (ground wire) and connect it to the green screw (ground screw) on the side of the switch. Make sure the hook goes on clockwise. This will help tighten the wire in the next step.
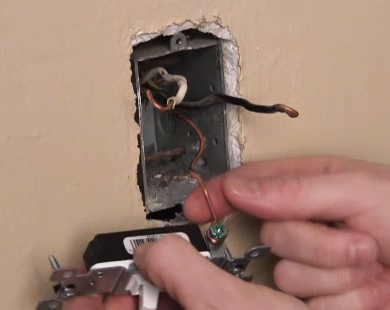
4) Using your phillips screwdriver, tighten the ground screw onto the wire.
5) Now you can connect the two remaining wires to the two remaining screws on your light switch (either wire to either screw). Again, ensure the hooks are connected clockwise and tighten the screws with your screwdriver.
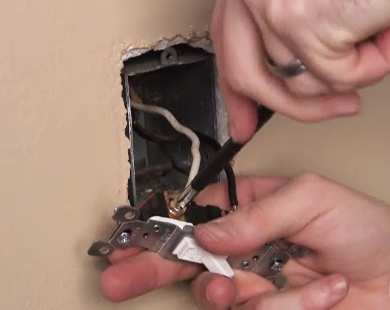
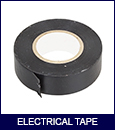
6) Before placing the switch back into the wall box, take a peice of electrical tape and tape over the terminal screws. This will prevent any unwanted contact between the screws and the side of the wall box.
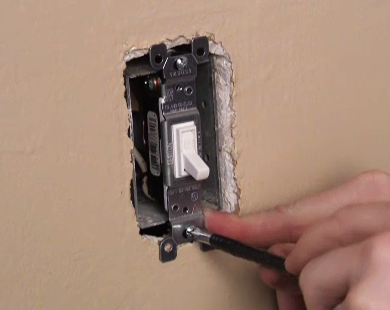
7) Using your phillips screwdriver, mount the light switch back onto the wall box using the screws provided. If you are installing a toggle switch, make sure the ON/OFF writing is the right way up (to save confusion later!).
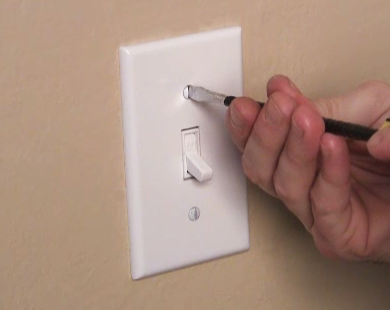
8) Fasten the wall plate on top of the switch with your flat head screwdriver. Tip: leave the slots in the wall plate screws vertical to prevent dust collecting in the screws.
9) Now you're ready to turn the power back on at the circuit breaker and test your work!
For more technical support, you can call our technical support line at 1-800-824-3005


